Getting started on ColdStream
We want to help you and your team get started with ColdStream smoothly so that you can make the most of it. Please follow this step-by-step guide before your onboarding meeting.
Introduction
This article helps you with getting everything set up on ColdStream. All new users receive training from our experienced support team. To make this training as efficient as possible, we require you to complete the following steps beforehand. Should any difficulties arise, you can schedule a quick meeting with your dedicated support engineer by clicking on this link.
Step 1 - Set up your account and invite your colleagues
The admin user will receive an email to set up his or her account. In some cases, this email might end up in your spam folder. It is advised to check your spam folder. Please inform your Diabatix account manager if you have not received any email yet.
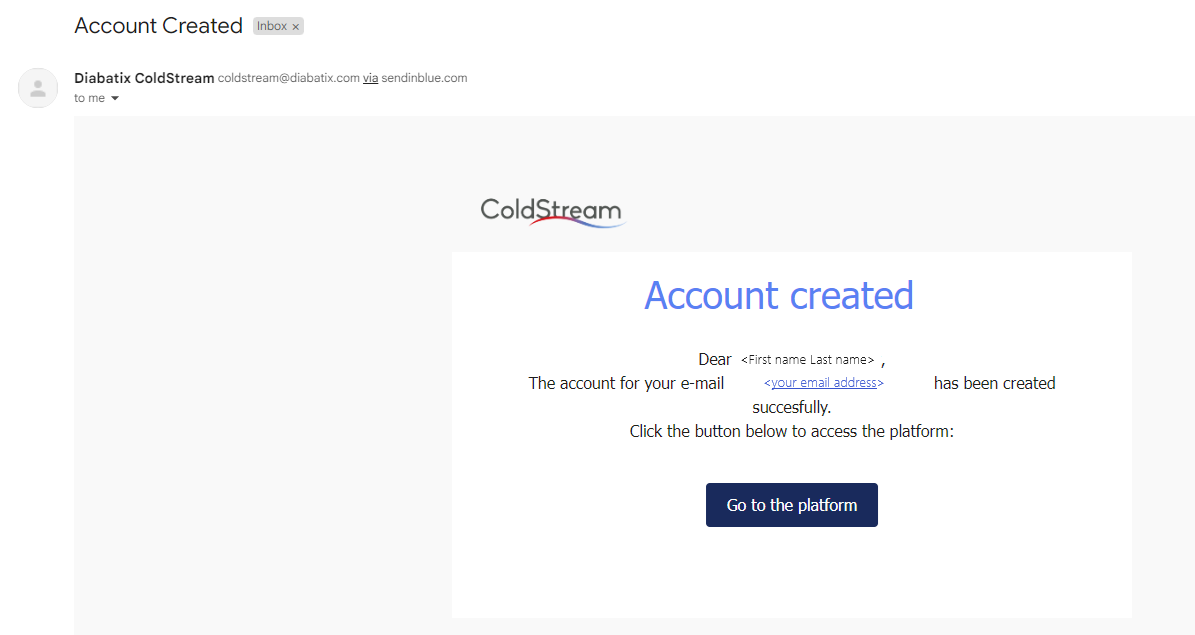
Account created email example
After the admin user has set up the account, other colleagues can be invited by clicking the invite your colleague button. You can now log into ColdStream by following this link: http://coldstream.diabatix.com/
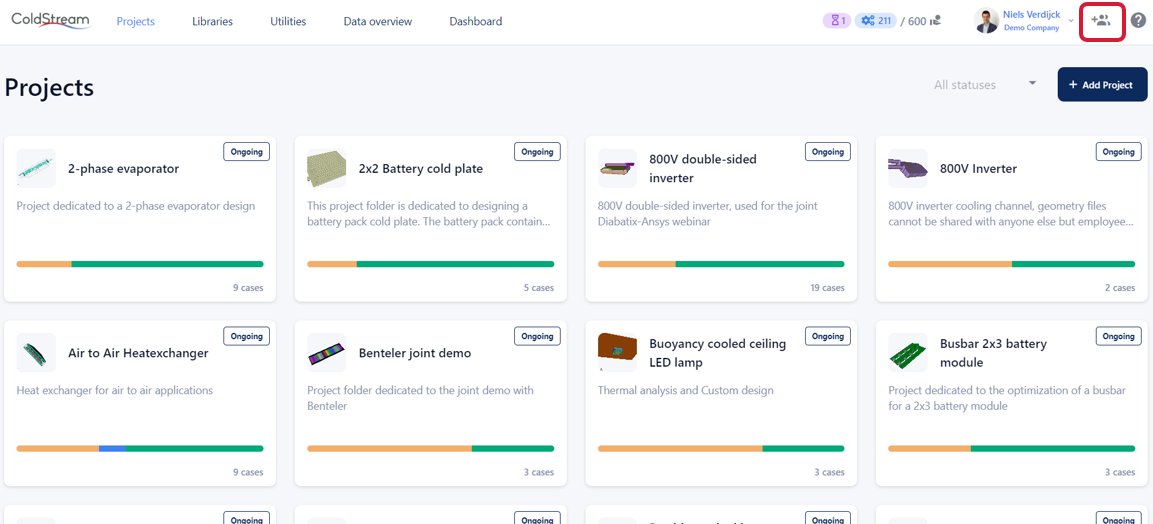
Invite a Colleague button
Step 2 - Set up your engineering support accounts
Set up your engineering support account by following the instructions you should have received by email. Please inform your Diabatix account manager if you have not received any email yet.
You can reach the engineering support portal via this link.
Step 3 - Create your first project
To keep your account clean, ColdStream allows you to store your cases in different project folders. For more information about how to create, edit, or delete a project folder, please follow this link.
Step 4 - Create your first base case
Within a project folder, you can start designing your cooling solutions. The most efficient way of getting a desirable result is to follow a workflow. For more information about workflows, please follow this link. The workflow starts by defining a base case. This base case contains your initial geometry and input to be used for all subsequent cases.
Step 5 - Prepare your CAD-file
Check this page to get instructions on how you should prepare your CAD files.
Step 6 - Upload your first geometry
Try uploading your geometry on the base case you created in step 6. When you upload your geometry, some CAD checks and manipulations take place to make sure your geometry is completely ready for meshing. If your geometry contains some mistakes, like overlapping regions or internal boundaries, you will get an error message. In case you have some difficulties with your first geometry upload, create a support ticket including your step-file or a screenshot of the errors you got and the support engineer will help you out.
Step 7 - Subscribe for ColdStream Status Updates
If you want to stay informed about the latest updates on ColdStream’s status, you can subscribe to receive real-time notifications. Simply visit the ColdStream Statuspage at https://coldstream.statuspage.io/ and sign up for updates.
Ready for onboarding!
Congratulations on your first upload, you are now ready for your onboarding meeting in which the support engineer will show you the workflow you should follow to get your desired results out of ColdStream in the most efficient way. You will also learn more about how to set up your boundary conditions and design targets.
Updated 8 months ago