Setting up your account in ColdStream
Setting up your account in ColdStream
- When you have been registered you will receive an e-mail called Account created. You will need this e-mail to start your account setup.
- In the e-mail, click the blue button called Go to the platform to navigate to the website.

- There, you will need to choose your password and confirm it. This password is only for your account, meaning that you don't have to share it with others in your organization/company.
- Once you have set your password, you will gain access to the platform and be taken straight to the home page.
- Don’t forget to enable Two-factor Authentication to ensure your login process is always secure.
Setting up Two-Factor Authentication as an Admin
- Once you are logged in, navigate to the top right corner of the homepage. There you will see an icon with your name and company next to it. Click on the arrow next to your name.
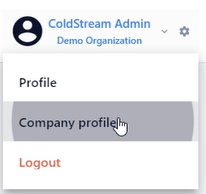
- A drop-down menu will pop up. Here, select the Company profile
- The company profile page will have 4 different tabs: Case History, Credits, Users, and Activity Log. Click on the Users tab.
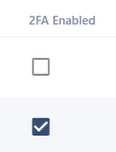
- Here you have an overview of all the different users in your account and you can see who has Two-factor Authentication enabled and who hasn’t. To enable Two-factor Authentication simply check the box next to the account name.
- The next time that user logs in, he/she will need to enable Two-factor Authentication and they can log in securely.
Setting up Two-Factor Authentication as a User
- Once you are logged in, navigate to the top right corner of the home page. There you will see an icon with your name and company next to it. Click on the arrow next to your name.
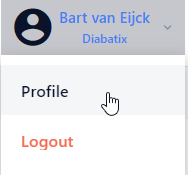
- A drop-down menu will pop up. Here, select Profile
- On your profile page, on the right side of the screen, there will be a tab called Multi-factor Authentication.
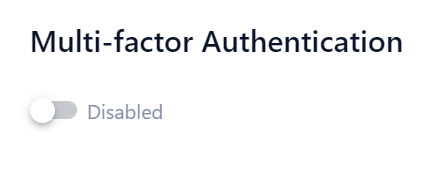
- Click the slider button to switch the settings to Enabled.
Logging in with Two-factor Authentication
- Navigate to https://coldstream.diabatix.com. Here, you will be prompted to provide your login data.
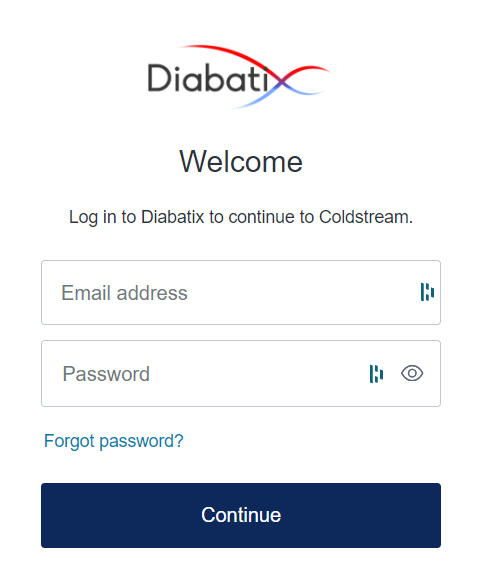
- Please enter your e-mail address and password and click the Continue button.
- If you have enabled Two-factor Authentication, you will now be asked to select an authentication method.
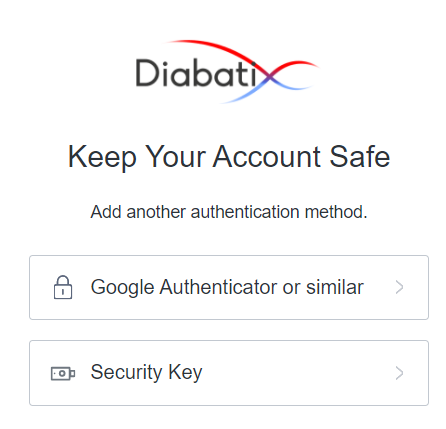
Google Authenticator or similar
- One way to log in is by using an authenticator app, such as Google Authenticator.
- If you don’t have an authenticator app installed yet, go to the Play Store (for Android) or the App Store (for iOS). Search for the ‘Google Authenticator’ app or a similar authenticator app and install it on your device.
- In the platform, click on the Google Authenticator or similar button. You will now be provided a QR code.
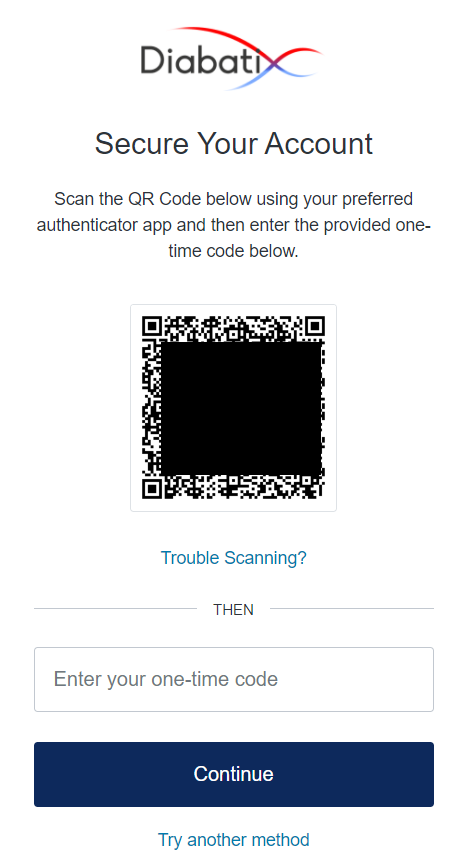
- Open your authenticator app on your mobile device and click the ‘+’ button. Now select the option Scan QR code and scan the QR code that is displayed on the website.
- The website and your authenticator app will now be linked.
- You will be given a recovery code, which you will need if you ever need to log in without your device. Store this code somewhere safe.
- Once this link has been made your authenticator app will constantly display login codes.
- Insert the login code of your authenticator app on the login page of the website to securely log in to the platform.
Security key
- You can also log in using a Security Key, such as a Yubikey.
- Once prompted on the website, click the option Security Key.

- Insert your key into your computer’s USB slot.
- Now click the Use security key button.
- You will now be asked to save your security key and name it.
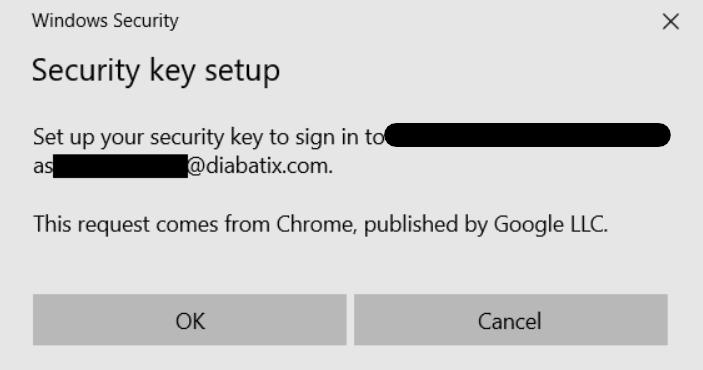
- Click the OK button to start setting up your key.
- After you insert your key’s PIN code and touch your key as verification, you can name your key.
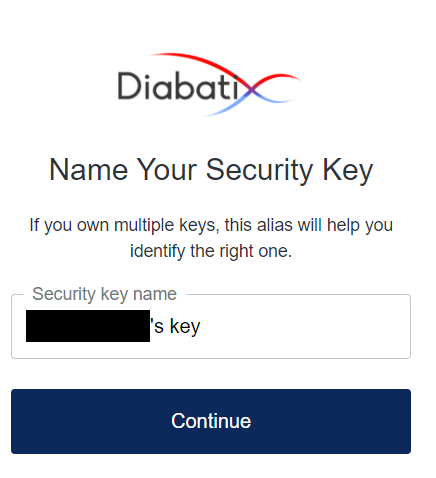
- Click Continue to finish your key registration.
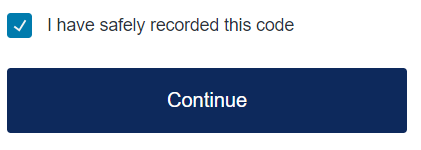
- You will be given a recovery code, which you will need if you ever need to log in without your device. Store this code somewhere safe.
- Once you have done this, check the box next to I have safely recorded this code and click Continue.
- You are now logged into the platform. For any future logins, you will only need to provide the PIN code and touch your key to log in.
Updated 8 months ago
Did this page help you?